How to Install Coolify on Your RackNerd Server
Learn how to set up Coolify on a RackNerd VPS to streamline your development workflow with easy app deployment, monitoring, and management…
Learn how to set up Coolify on a RackNerd VPS to streamline your development workflow with easy app deployment, monitoring, and management. This guide walks you through the installation process step by step.
How to Install Coolify on Your RackNerd Server
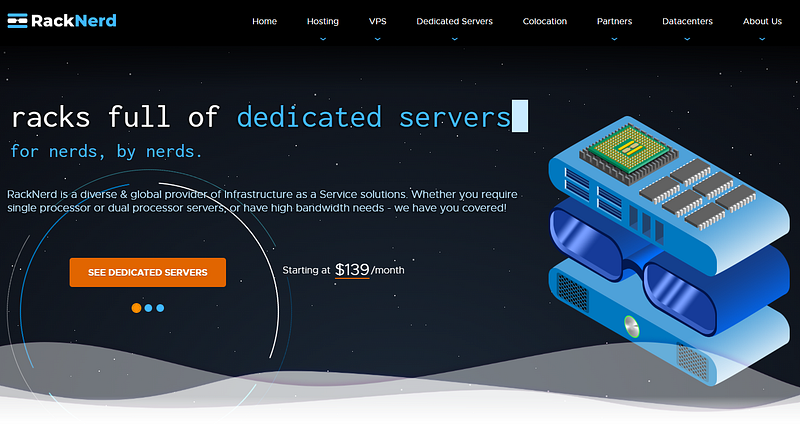
So, you’ve got your hands on a RackNerd server and you’re ready to install Coolify? Awesome! Let’s dive in.
Buy Rack nerd — 15%OFF
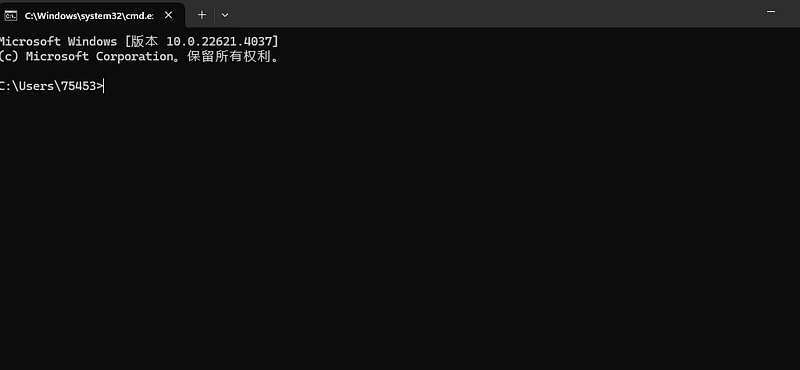
Step 1: Connect to Your Server via SSH
- Open Command Prompt on Windows:
- Hit Win + R, type
cmd, and press Enter.
2.SSH into Your Server:
ssh [email protected] -p 22- Replace
rootwith your username andXXX.XXX.XXX.XXXwith your server’s IP address. The-p 22specifies the SSH port.
3.Enter Your Password:
- When prompted, enter your password (it’s the one that looks like
***************). Don’t worry if nothing shows up as you type—that’s just a security feature.
Step 2: Prepare Your Server for Coolify Before installing Coolify, make sure your server has the necessary tools, like curl.
- For Debian/Ubuntu:
- Update your package list:
sudo apt updatesudo apt install curl -yStep 3: Install Coolify Now that your server is prepped, it’s time to install Coolify!
- Run the Coolify Install Script:
- arduino
curl -sSf https://get.coollabs.io/coolify/install.sh | bash2.Follow the Prompts:
- The script will handle most of the work, downloading and setting up Coolify along with its dependencies. You might need to enter some configuration details like database credentials.
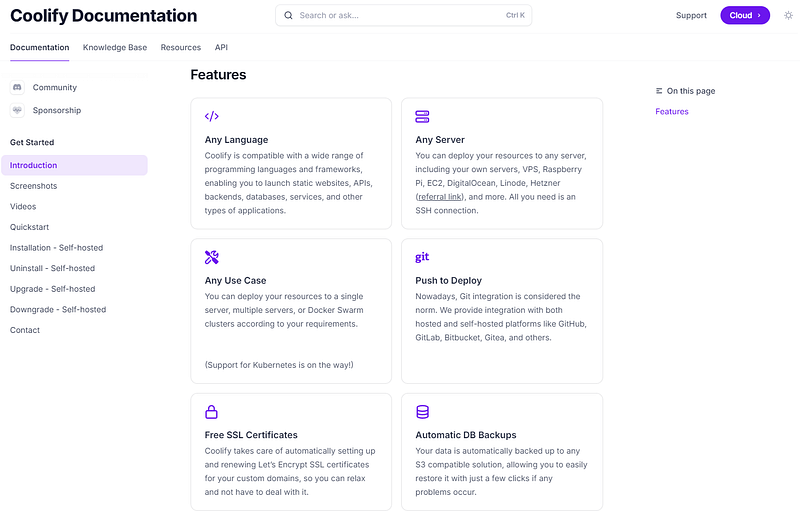
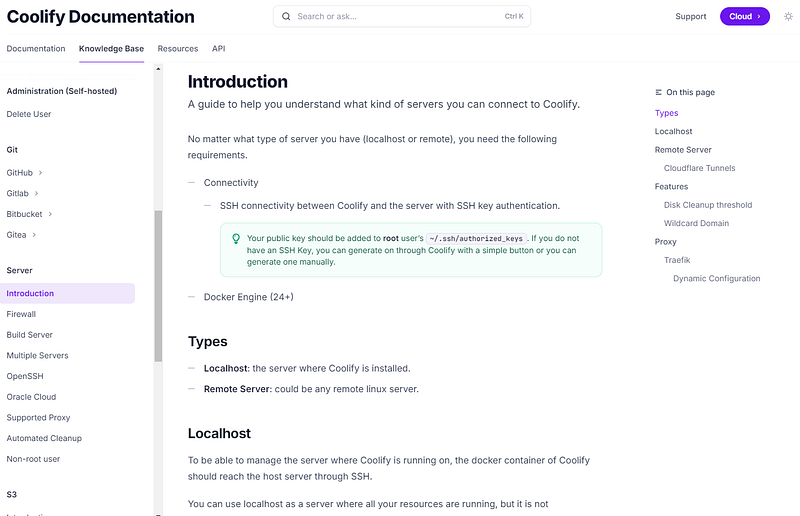
Step 4: Verify Installation After installation, open your browser and navigate to your server’s IP address or domain name. You should see the Coolify setup screen — just follow the on-screen instructions to get everything up and running.
Step 5: Set Up a Custom Domain If you want to use a custom domain with Coolify, you’ll need to configure your DNS settings. Check out this handy guide: Coolify DNS Configuration.